Empyrean Acid Propylaeum: Difference between revisions
(Created page with '{{Dungeon Summary | Patch Introduced = Fever Dreams | Related Quests = Empyrean Propylaeum | Updated = | | Live Image = Empyrean Acid Propy…') |
m (template clean up) |
||
| (3 intermediate revisions by 2 users not shown) | |||
| Line 8: | Line 8: | ||
| | | | ||
| Wiki Map File = | | Wiki Map File = | ||
| ACmaps.com ID = 526E | | ACmaps.com ID = 526E | ||
| Coordinates = 31.6S, 74.2W | | Coordinates = 31.6S, 74.2W | ||
| Landblock = 526E | | Landblock = 526D, 526E | ||
| Dereth Map = {{Map Point|31.6|S|74.2|W|Marker=Dungeon}} | | Dereth Map = {{Map Point|31.6|S|74.2|W|Marker=Dungeon}} | ||
| Nearest Town = | | Nearest Town = Ayan Baqur | ||
| Nearest LS = 26.2S, 65.6W | | Nearest LS = 26.2S, 65.6W | ||
| Route = From [[Baishi]] go to the [[Drunken Madman]] at 53.0S, 61.0E. Give him [[Sake]] to summon the [[Walled Portals]], from there run to 31.6S, 74.2W. | | Route = From [[Baishi]] go to the [[Drunken Madman]] at 53.0S, 61.0E. Give him [[Sake]] to summon the [[Walled Portals]], from there run to 31.6S, 74.2W. | ||
| Level Restrictions = 50 | |||
| Level Restrictions = 50 | | Tieable = | ||
| Tieable = | | Recallable = | ||
| Recallable = | | Summonable = | ||
| Summonable = | |||
| Lifestone if Log = | | Lifestone if Log = | ||
| Quest Flag = | | Quest Flag = | ||
}} | }} | ||
== | == Notes == | ||
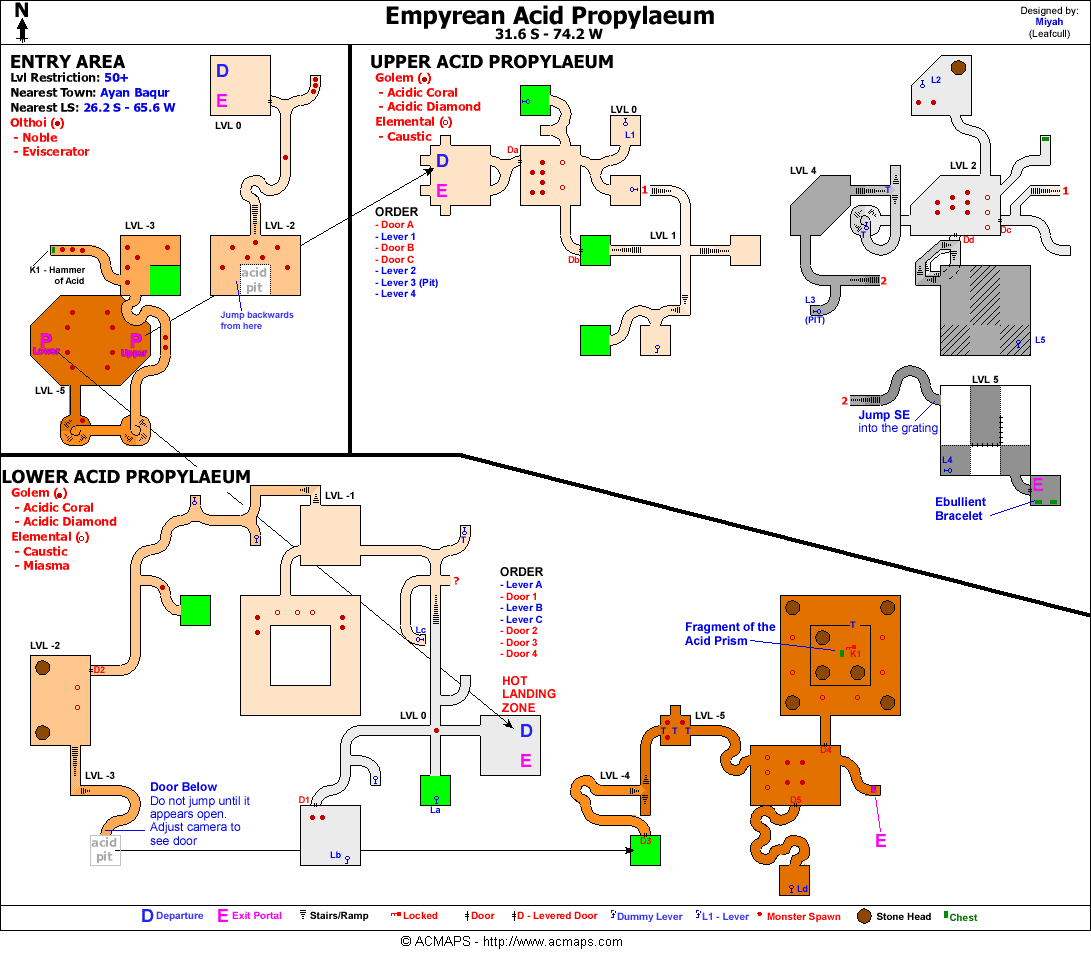
This dungeon has a lower and an upper section which requires two teams to pull levers in each area so the other team can continue on. | This dungeon has a lower and an upper section which requires two teams to pull levers in each area so the other team can continue on. | ||
| Line 32: | Line 28: | ||
== Maps == | == Maps == | ||
* | * {{ACMaps.com|526E}} | ||
== Creatures == | == Creatures == | ||
| Line 48: | Line 44: | ||
| Acidic Diamond Golem | | Acidic Diamond Golem | ||
}} | }} | ||
{{Creature Class|Acid Elemental | {{Creature Class|Acid Elemental | ||
| Location = Dungeon | | Location = Dungeon | ||
| Line 56: | Line 50: | ||
}} | }} | ||
{{Creature Class| | === Upper Empyrean Acid Cistern === | ||
{{Creature Class|Golem | |||
| Location = Dungeon | |||
| Acidic Coral Golem | |||
| Acidic Diamond Golem | |||
}} | |||
{{Creature Class|Acid Elemental | |||
| Location = Dungeon | | Location = Dungeon | ||
| | | Caustic | ||
}} | }} | ||
== Items and Objects == | == Items and Objects == | ||
{{ | * {{Itemlink|Chest (Empyrean Acid Propylaeum)}} | ||
{{ | * {{Itemlink|Hammer of Acid}} - Inside a [[Chest (Empyrean Acid Propylaeum)|chest]] in the main entry section, it has a 30 day pickup timer | ||
{{ | * {{Itemlink|Prism of Acid}} - Found at the end of the Lower Empyrean Acid Cistern | ||
{{ | * {{Itemlink|Fragment of the Acid Prism}} - Taken from the main prism using the Hammer of Acid | ||
{{ | * {{Itemlink|Ebuillant Bracelet}} - Found inside a [[Chest (Empyrean Acid Propylaeum)|chest]] at the end of the Upper Empyrean Acid Cistern | ||
== Portals == | == Portals == | ||
* [[Lower Empyrean Acid Cistern]] - Found in the main | * [[Lower Empyrean Acid Cistern]] - Found in the main entry area of the Propylaeum | ||
* [[Upper Empyrean Acid Cistern]] - Found in the main | * [[Upper Empyrean Acid Cistern]] - Found in the main entry area of the Propylaeum | ||
* | * Empyrean Acid Propylaeum - Portal back to the entry area, found in the Lower and Upper Cisterns | ||
== Images == | == Images == | ||
| Line 79: | Line 78: | ||
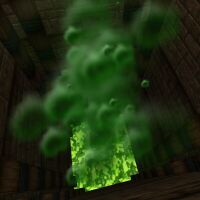
File:Empyrean Acid Propylaeum Live 2.jpg|Acid Pit (Entry Area) | File:Empyrean Acid Propylaeum Live 2.jpg|Acid Pit (Entry Area) | ||
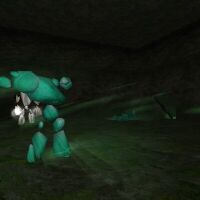
File:Empyrean Acid Propylaeum Live 3.jpg|Acidic Golems (Lower Cistern) | File:Empyrean Acid Propylaeum Live 3.jpg|Acidic Golems (Lower Cistern) | ||
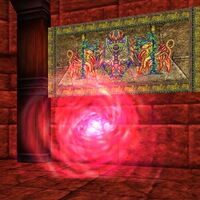
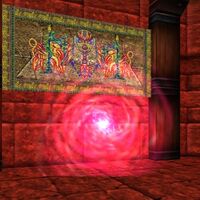
File:Live.jpg| | File:Lower Empyrean Acid Cistern Live.jpg| | ||
File:Upper Empyrean Acid Cistern Live.jpg| | |||
</gallery> | </gallery> | ||
Latest revision as of 01:03, 8 December 2014
| Maps NPCs Creatures Items and Objects Portals Images Update History |
| Empyrean Acid Propylaeum | |
|---|---|
| Quests | Empyrean Propylaeum |
| Restrictions | Level: 50 Tieable: No Recallable: No Summonable: No |
| Coordinates | 31.6S, 74.2W near Ayan Baqur |
| Nearest LS | 26.2S, 65.6W |
| Route | From Baishi go to the Drunken Madman at 53.0S, 61.0E. Give him Sake to summon the Walled Portals, from there run to 31.6S, 74.2W. |
| Map Files: | ACMaps Map |
Show location on Dereth map
| |
| 526D, 526E | |


Notes Edit
This dungeon has a lower and an upper section which requires two teams to pull levers in each area so the other team can continue on.
The reward for the lower team is a Fragment of the Acid Prism and the reward for the uppers is a Ebuillant Bracelet.
Maps Edit
Creatures Edit
Entry Area Edit
Lower Empyrean Acid Cistern Edit
Upper Empyrean Acid Cistern Edit
Items and Objects Edit
- Chest (Empyrean Acid Propylaeum)
- Hammer of Acid - Inside a chest in the main entry section, it has a 30 day pickup timer
- Prism of Acid - Found at the end of the Lower Empyrean Acid Cistern
- Fragment of the Acid Prism - Taken from the main prism using the Hammer of Acid
- Ebuillant Bracelet - Found inside a chest at the end of the Upper Empyrean Acid Cistern
Portals Edit
- Lower Empyrean Acid Cistern - Found in the main entry area of the Propylaeum
- Upper Empyrean Acid Cistern - Found in the main entry area of the Propylaeum
- Empyrean Acid Propylaeum - Portal back to the entry area, found in the Lower and Upper Cisterns
Images Edit
Click image for full size version.
-
Acid Pit (Entry Area)
-
Acidic Golems (Lower Cistern)
-
-


